


Why Cache & Private Browsing are Important in the Process of Reviewing Your Website
What is a Cache and Why is it Important in the Process of Reviewing Your Website
A cache is something you have probably been prompted to clear before when troubleshooting something on your computer or cleaning up your browser history. Although, you might be wondering why refreshing your cache is an important part of the process when reviewing your website. Basically, a cache collects and stores temporary data to help websites, browsers and apps load faster. A cache helps devices run faster and smoother by being able to quickly retrieve that collected data, almost like a memory card. So, instead of a website or app redownloading that data every time, a cache makes it readily available locally. The reason you want to make sure you refresh your cache before reviewing your website is because a cache can prevent it from loading the latest version of your site and other data. When you refresh your cache, the site is then forced to download anything new.
How to Clear Cache on Google Chrome (Desktop)
- Open Google Chrome and click on the “more” icon (3 dots) in the top-right hand corner of the browser screen.
- In the drop-down menu that appears, hover over “more tools”, then click on “clear browsing data”.
- In the pop-up, choose a range of time (anywhere from the last hour to all time).
- Be sure to also check off the “cookies and other site data” and “cached images and files” boxes.
- Click “clear data”.

How to Clear Cache on Google Chrome (Mobile)
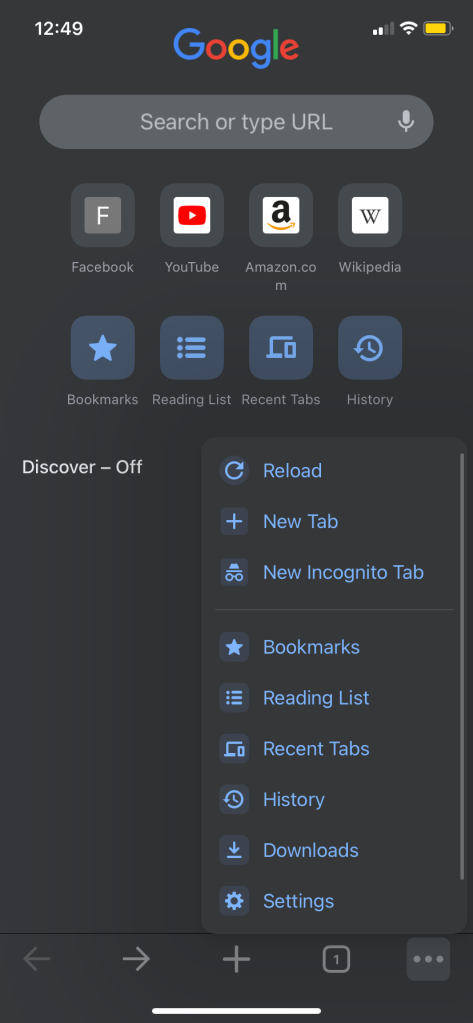
- Open up the Google Chrome app and tap on the “more” icon (3 dots) in the bottom-right hand corner of the browser screen for Apple devices and at the top-right hand corner of the browser screen for Android devices.
- Tap on “history”, then “clear browsing data”.
- Choose a range of time (anywhere from the last hour to all time).
- Be sure to also check off the “cookies and other site data” and “cached images and files” boxes.
- Tap “clear browsing data” on Apple devices and “clear data” on Android devices.

How to Clear Cache on Safari (Desktop)
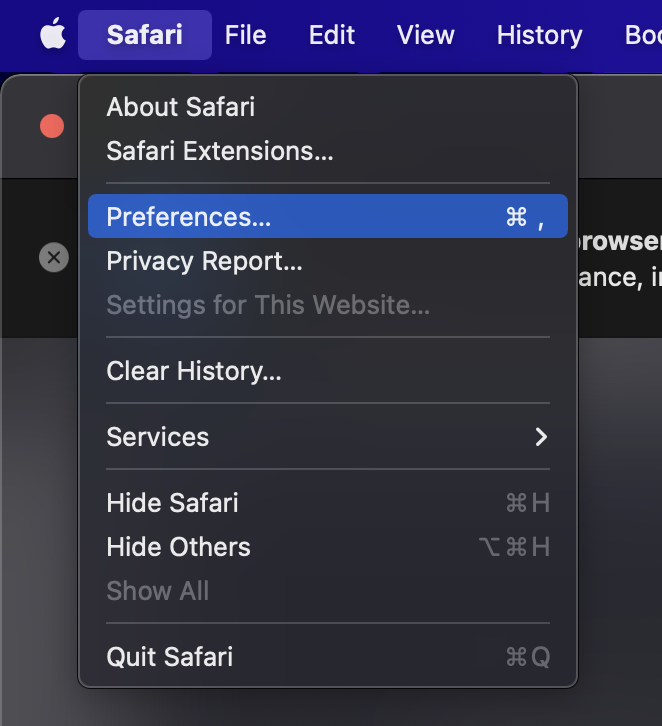
- Open Safari and click on the “Safari” tab located in the top bar of your screen on the left. Then click on “preferences” in the drop-down menu.
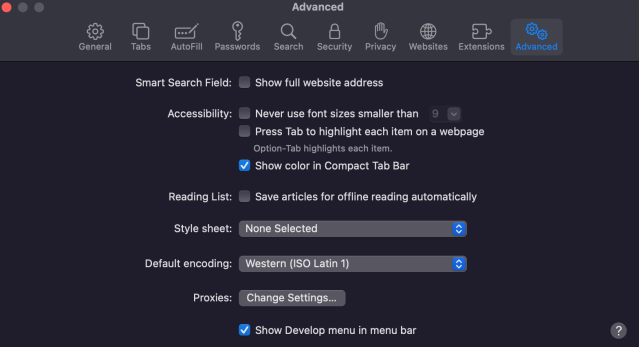
- Click on the “advanced” tab.
- At the bottom of the “advanced” tab, check off the “show develop menu in menu bar” and then close the preferences menu.
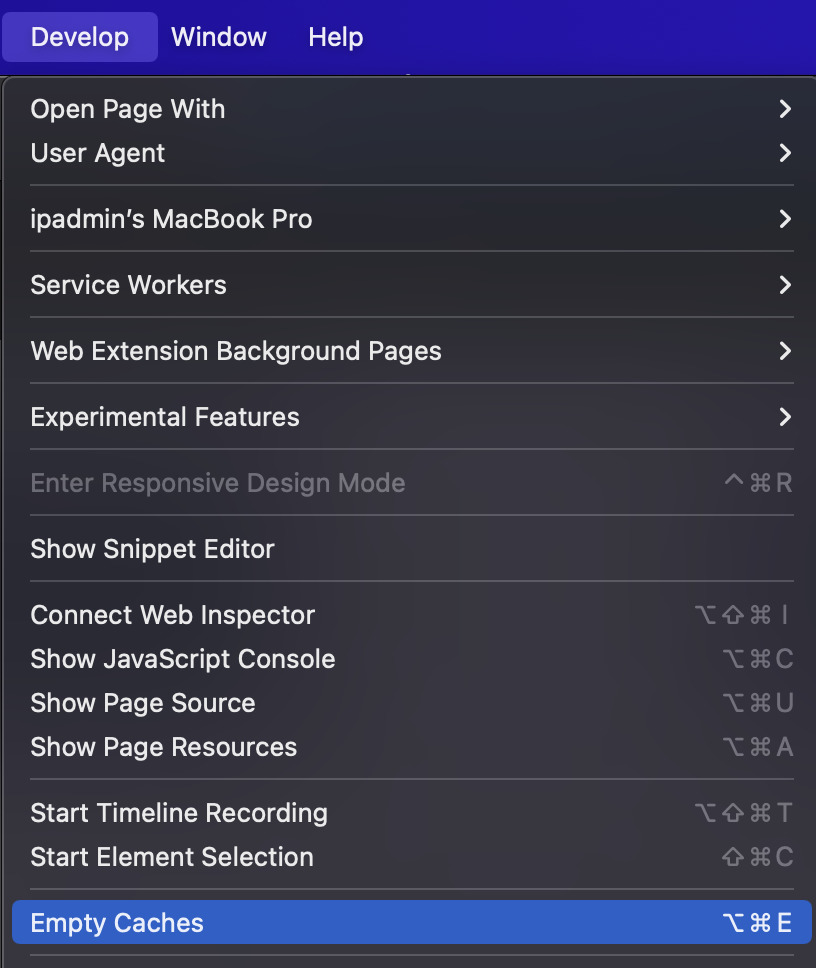
- Click on the “develop” tab at the top of your screen.
- In the drop-down menu, click “empty caches”.
How to Clear Cache on Safari (Mobile)
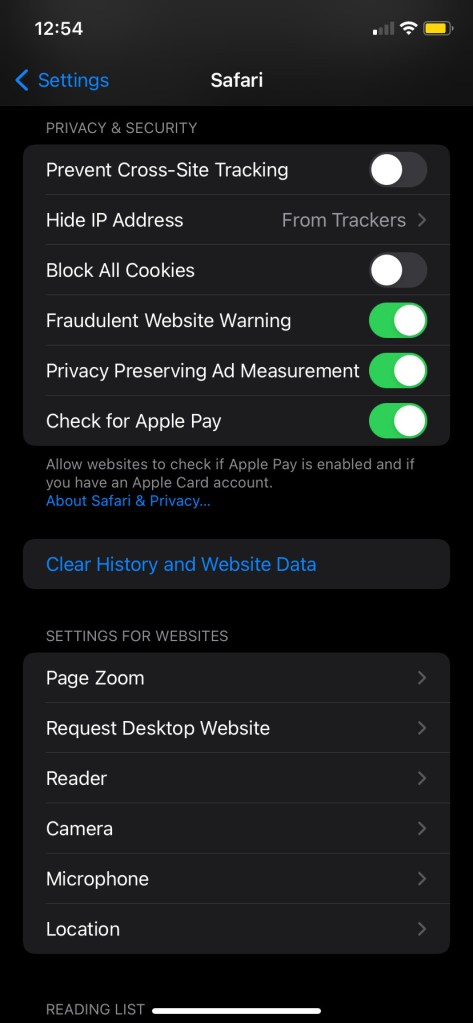
- Open the Settings app on your mobile device.
- Tap on “Safari”.
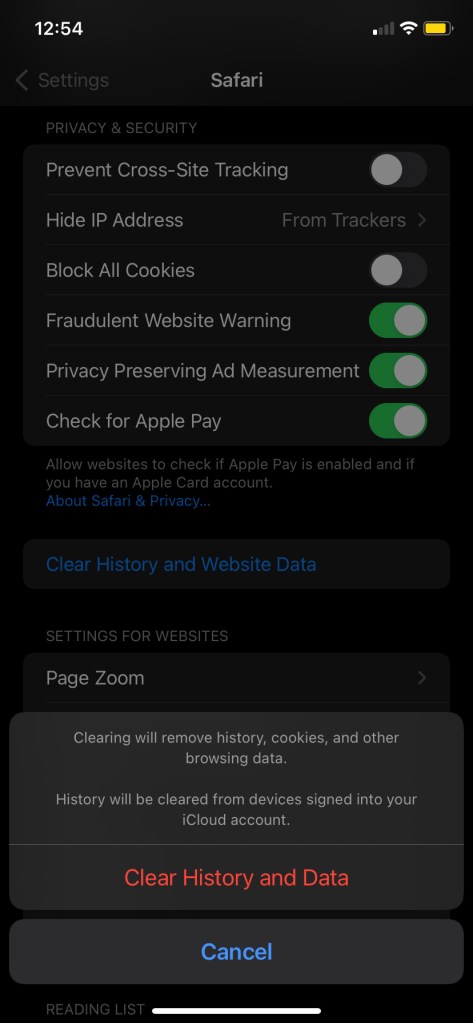
- Tap on “clear history and website data”.
- On the pop-up that comes up, choose “clear history and data”.

How to Clear Cache on Firefox Manually
- Open Firefox on your Mac or PC
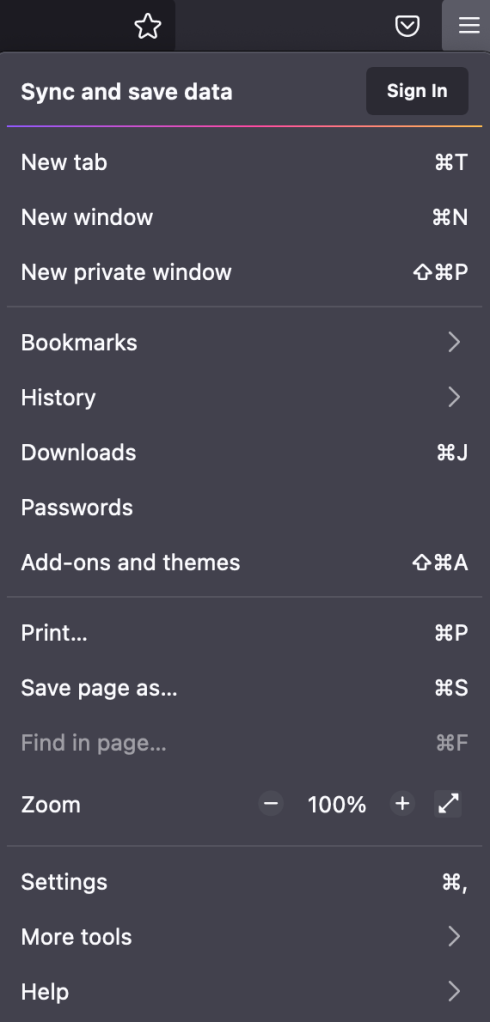
- In the upper right hand corner of your browser, click on the menu icon (3 stacked horizontal lines).
- Click on “settings”.
- On the left hand site, click on the “privacy & security” tab.
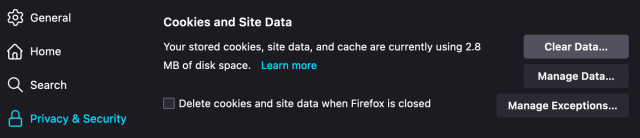
- Scroll down until you find the “cookies and site data” section.
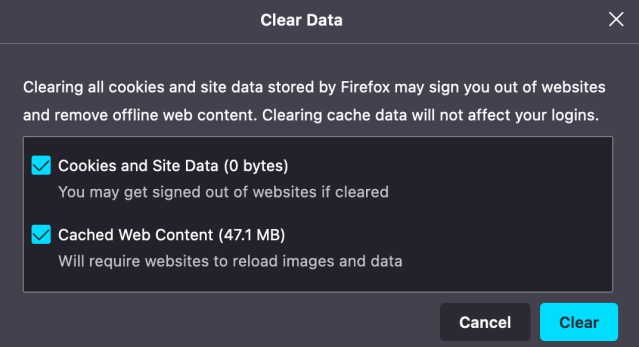
- Click “clear data”.
- Check off the box next to “cached web content”.
- Then click the “clear” button to clear your cache manually.
How to Clear Cache on Firefox Automatically
- Open Firefox on your Mac or PC
- In the upper right hand corner of your browser, click on the menu icon (3 stacked horizontal lines).
- Click on “settings”.
- On the left hand site, click on the “privacy & security” tab.
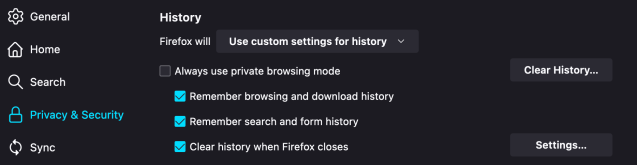
- Scroll down until you find the “history” section.
- Next to “Firefox will”, click on the dropdown menu and change the default option of “remember history” to “use custom settings for history”.
- Under the list of options that appear, check the box next to “clear history when Firefox closes”.
- Next to this option, click on the “settings…” button.
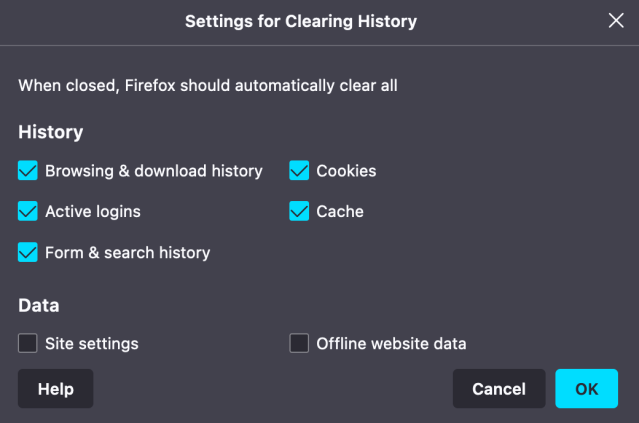
- Check off the box next to “cache”.
- Then, to exit and save your settings, click the “ok” button.
What is Private Browsing and Why is it Important in the Process of Reviewing Your Website
All web browsers, including Google Chrome, Safari, and Firefox give you the option to use a privacy mode. This private browser option can help keep your online activity hidden while you are searching the web. None of your activity will be stored after you close a private browser, so anyone who might use your computer later will not be able to see what websites you visited or your history. Although, using a private browser may keep you anonymous to anyone else using your laptop, plenty of other people and organizations can still see your online activity, such as your employer, government agencies or your internet service provider. More sophisticated tools are required if you want to have more privacy during your time searching the web.
Using a private browser is important when it comes to the process of reviewing your website. A private browser does not cache any files or images, so it is essentially a clean slate that will be able to show any updates on your site without the worry of old cached content. To utilize private browsing, just follow the steps below for your preferred browser.
How to Open a Private Browser in Google Chrome
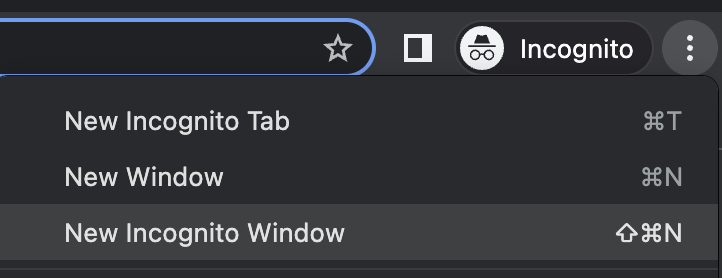
- Open Chrome on your computer.
- Then, click on the “more” icon (3 dots) in the top-right hand corner of the browser screen and click “new incognito window”.
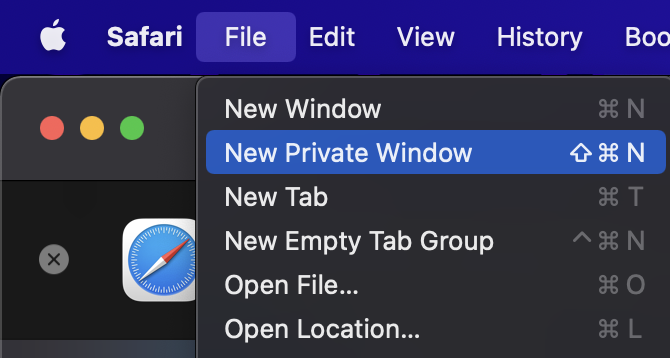
How to Open a Private Browser in Safari
- Open Safari and select “file” from the menu bar at the top of your screen.
- Then, choose “new private window”.
How to Open a Private Browser in Firefox
- Open Firefox and click on the menu icon (3 stacked horizontal lines) in the upper right hand corner of your browser.
- Then, click on “new private window”.

Conclusion
Both cache and private browsing are important in the process of reviewing your website. They both help get rid of any previously stored content, images, files, etc. When you are reviewing your site make sure you clear your cache first, then view your website in a private browser, so you can see the most up to date version of your site.